One Drop Link per Role: Organizing Film Shoot Deliveries Step by Step
DIT, sound, set photographer: one drop link per role, one arrival folder per link, every upload named and dated. The guide to never having to hunt for who sent what again.

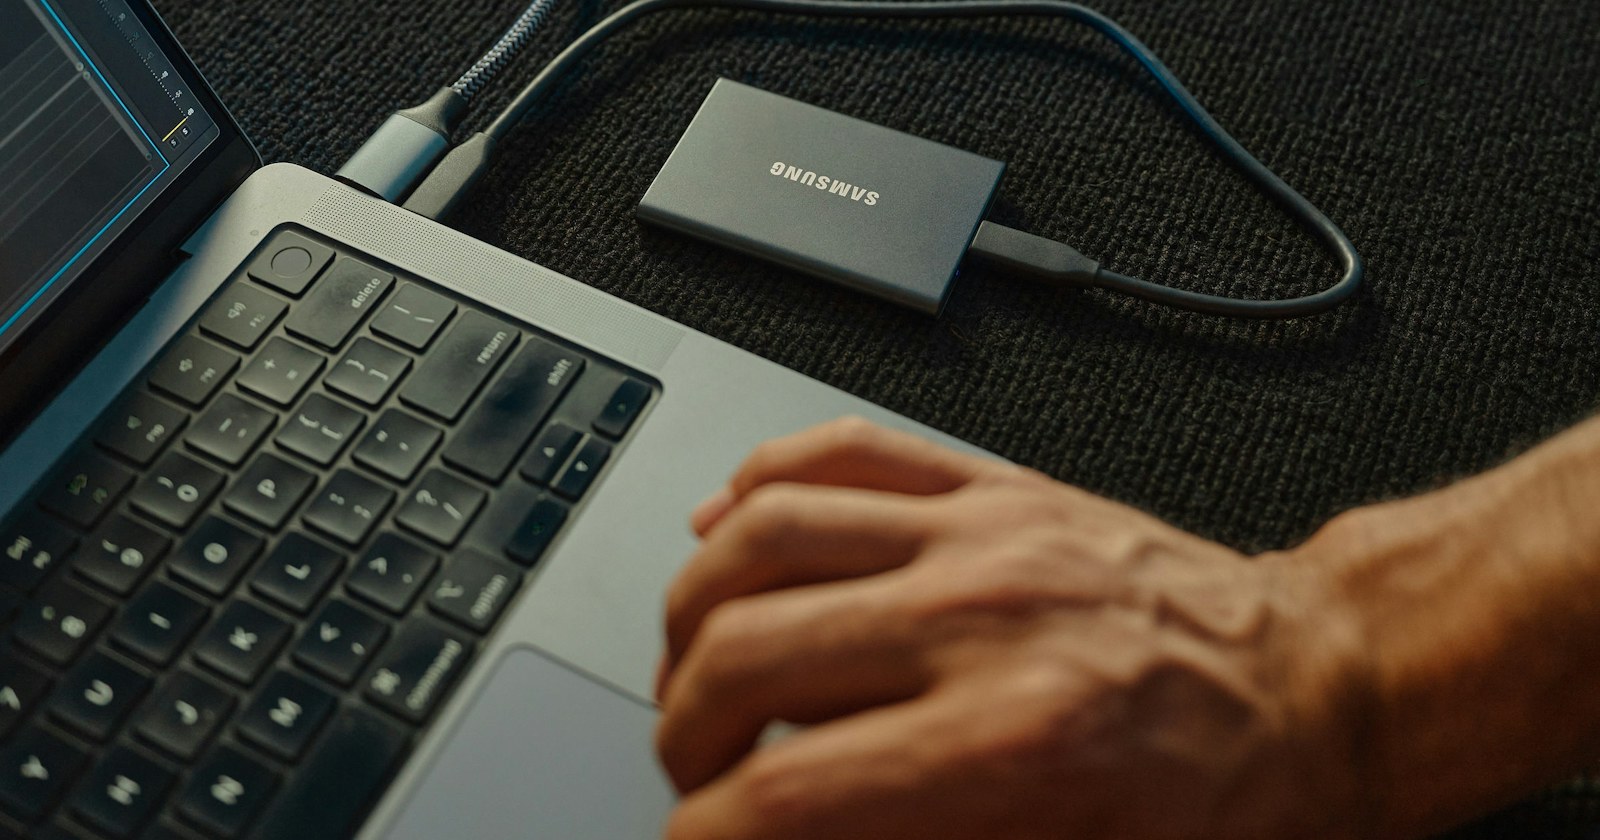
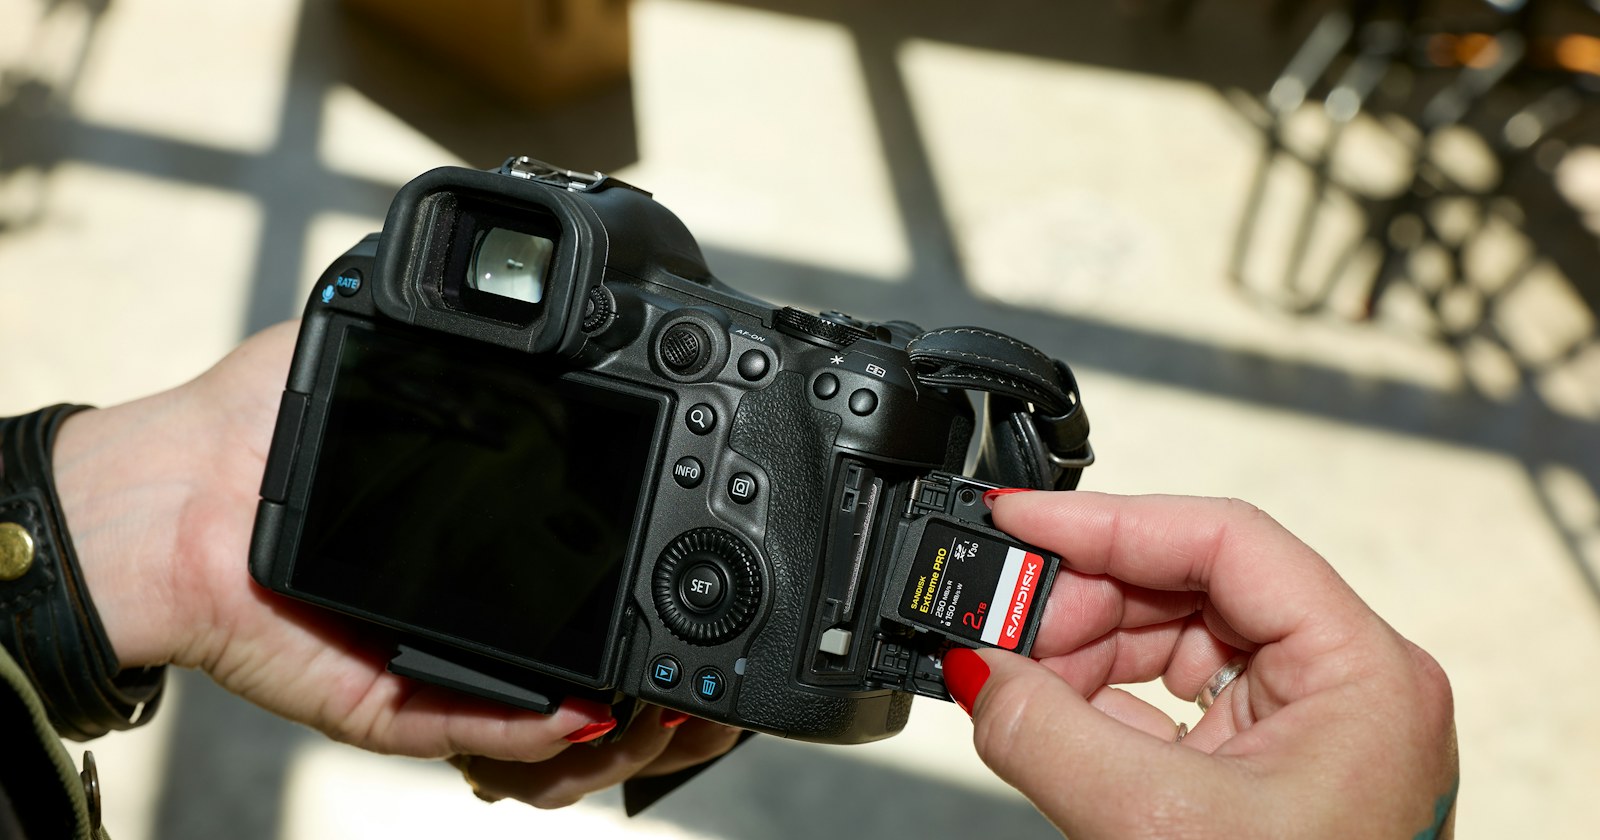
On a film shoot, files come in from everywhere: the DIT's cards, the sound tracks, the set photos. A few days later, nobody knows who sent what, or in which version. Here is a simple method: one drop link per role, one arrival folder per link, and a filing system that almost takes care of itself.
Why one link per role?
When everyone sends to the same email address or into the same messaging thread, files get mixed up. With one link per role, you know where each file comes from as soon as it arrives: what lands in the “Sound” folder comes from the sound team, and what lands in “DIT” comes from the DIT. You have nothing to sort, and everyone knows where to drop their files.
The principle works even for a small team: you can also set up one link per project if there are only a few roles.

Step 1: set up the folder structure before the first day
Before creating anything, decide on the structure and write it into the shooting plan. A base that works well:
- one folder per project, with a short, stable name;
- inside it, one folder per role: 01_DIT, 02_Son, 03_Photo de plateau;
- no accents or unnecessary spaces in the folder names you control, which is safer for editing software.
In the Misi.Link Drive, create these folders in advance. Each account has its own Drive, with no expiry date; with the Business plan, it is shared by the whole team.
Step 2: create one drop link per role
Drop links are created in My account › Drop links and are reserved for paid plans. For each role:
- create a drop link;
- with the Business plan, choose the matching Drive folder under “Where files arrive” (the 01_DIT folder for the DIT's link, and so on);
- copy the link and keep it for the call sheet.
With the Pro plan, each drop arrives in your account and you receive an email every time. With the Business plan, it is also filed directly in the Drive, with no archive to unzip.
Step 3: brand and distribute the links
People who upload files don't need to create an account. They open the link, drag in their files or entire folders, and enter their first and last name (required) and, if they wish, their email address. This detail does all the filing: each drop is saved in a “Last name First name — date” folder, with its subfolders preserved.
A few best practices:
- ask everyone to enter their real name, not “DIT” or “test”;
- encourage them to provide their email: they then receive a summary of what they uploaded, which serves as proof for both of you;
- with the Pro plan, add your logo, your colour and a background image with the branded page: it also appears on drop links, so contributors know they are in the right place;
- send each role's link to the right person, not to the whole team.
Step 4: track arrivals during the shoot
For each drop, you receive an email with the uploader's name and their address if they provided it. You can reply to them directly, for example to flag a missing file or a card that needs to be sent again.
On shooting nights, the routine is the same: open the role's folder, check that there is a “Last name First name — date” folder for the day, then tick the matching line in your tracking sheet. No need to reread message threads.
For very large volumes, remember that uploading depends on the connection of the person sending: the one on set or at the hotel isn't always the best. A speed test beforehand lets you plan what to send overnight rather than tie up a crew first thing in the morning.

Step 5: set permissions and protect what matters
A shared Drive doesn't need to be open to everyone on equal terms. With the Business plan:
- the administrator chooses “Can edit” or “View only” for each member: an assistant can view and download without the risk of moving a folder;
- the Drive's Activity tab shows who added, moved or deleted what, and when;
- a sensitive folder (unreleasable rushes, confidential scenes) can be protected with a code: other members only see its name, with a padlock.
An honest clarification: drops copied into the Drive are not end-to-end encrypted, in order to allow thumbnails, previews and ZIP downloads. They remain protected by the encrypted connection (HTTPS) and storage encryption, and are hosted in France.
Step 6: wrap up the project and deliver
At the end of a project, the Drive is your reference: everything is filed by role, named and dated. To pass part of it to the editor, the colourist or the client, you can share a folder by link (valid for 7 days, 30 days or until deactivated). The Shared links tab gathers all of the team's links, with their validity and number of downloads; you deactivate them all at once when the project is over.
For a formal delivery, a standard transfer lets you request approval from the client, who comments frame by frame, and get a PDF delivery certificate that records dated downloads.
And if, once the shoot is over, you want to sell your LUTs, presets or sound effects, note that the Pro plan lets you do so with a product page, promo codes and a public shop: everything is detailed on the Features page.
Key takeaways
- One drop link per role, one arrival folder per link.
- The uploader's name and the date do the filing: ask for real names.
- Per-member permissions and protected folders prevent accidents.
- When the project ends, you deactivate the links, and nothing is lost in the Drive.
Ready to try it on your next shoot? Drop links are included in the paid plans, and the 7-day Pro trial requires no credit card: check out the pricing or create your account to prepare your folders right now.